Zirconium Blue and Cerulean Comparison

Zirconium cerulean (PB71) watercolor in center, surrounded by similar blues on Arches 140 lb paper.

I was asked recently about zirconium blue, PB71, which is called zirconium cerulean by Kremer Pigments because of its similarity to cerulean. Unlike normal cerulean it doesn’t contain cobalt, so I presume that it’s less toxic, but it does cost about the same or a little more.

In the chart above zirconium blue is in the center, surrounded by all of the watercolor ceruleans (both PB35 and PB36) that I have access to and also some cobalt teals that I thought would be similar, plus manganese blue. The tartan blue was a limited edition variety of cerulean that I don’t think is made anymore, and the pigment for manganese blue isn’t made anymore either.

Zirconium blue is basically a heavily granulating turquoise or greenish teal. Some of the ceruleans and cobalt teals granulate more than others, but zirconium blue is only matched by genuine manganese blue. It seems to be a bit weaker tinting than the other paints here. The lifting is partly affected by the medium used to make the paint, but what I made here does lift very well, as does the “cobalt blue light” (actually cerulean) seen at the center left and the cerulean grey from Blockx in the bottom left.

The medium that I used to make each of the self-made paints was an experiment. Each time I make watercolor medium it’s a little different to explore how changes in proportions affect the paint. This time I used 5.5 grams of gum arabic powder dissolved into about 12-13ml of water that was heated to 140-150°F (60-65°C). Then about 2-3ml of light colored honey and 1-2ml of glycerin was added, which is less of both of those than I normally use. After shaking it gently but thoroughly 4 drops of synthetic ox gall from QoR were added. As a preservative I dipped the end of a brush handle into a bottle of clove oil, getting just a thin coating of it on the tip, and I put that into the medium. So far the medium seems to be working well. All of the self-made paints were just made justing a palette knife to combine the pigment with medium. Update- the paint was a little dry, so I approximately doubled the amount of glycerin.

Asphaltum, Van Dyke brown, Cassel earth, and Anthracite

Brown Oil Paint Comparison 1

In this brief comparison I have a variety of unusual brown paints that each have long histories but are seldom used today.

Van Dyke brown is one whose name is commonplace even if the genuine paint is not. It’s named after Anthony Van Dyck, a famous Flemish portrait artist who made extensive use of it in the 17th century. It’s also known as Cassel earth because of the deposits of it near the town of Cassel, Germany, and carries the pigment designation NBr8 (natural brown 8) because it contains natural organic matter.

The last paint in the chart above is a modern imitation of Van Dyke brown. It’s actually a mixture of pigments – in this case burnt umber and ivory black – that only imitates the color but not the handling of the original pigment. There’s many other modern pigments and mixtures that also borrow their names from some historical pigment that’s either no longer used or is only rarely used, such as indigo, sap green, vermilion, etc. As is often the case, part of the reason to make a modern imitation is because it’ll have better lightfastness than genuine Van Dyke brown.

Although it obviously has much higher tinting strength than the other paints – the third tint is a 1:7 mixture with titanium white and is close to the 1:1 mixtures for all the others – it also loses its limited chroma very quickly when tinted to higher values. The Gilsonite and anthracite may be weaker tinting but they’re also much more chromatic at high values.

I also made an area, not shown here, of evenly spread test strips of each paint that I check each day to see how long it takes for each to dry. All of this was started nine days ago and as of the time I’m posting this only two have dried because most of these are slow drying paints. I’ll keep checking and update this when or if the others dry.

Brown Oil Paint Comparison  1 top

These three I made from dry pigment, using linseed oil from Rublev. Nothing else was added, and I don’t know for certain how well they’ll dry on their own. They probably could have benefitted from a little bit of umber (PBr7) being added, because that contains manganese and acts as a drier for oil paint.

Gilsonite is a bitumen-impregnated rock that’s mined in Utah, USA. Bitumen (NBk6), also called asphaltum, has had many uses since ancient times, such as waterproofing for boats and ships. Today it’s still used for things like road construction, hence the term asphalt. Another example of use is that Ford model T cars were black because they were coated in a laquer made from Gilsonite. There’s many other possible applications for it. This is the most chromatic of all the paints here, but I’m unsure of its longevity as bitumen gained a reputation in the early 19th century for causing oil paintings to crack.

Anthracite, a high purity grade of coal, was used along with lower grades of coal by some artists in the past as a black pigment. Almost three years ago I made some watercolor with it, seen here.

Brown Oil Paint Comparison  1 bottom

The tube of Williamsburg’s Van Dyke brown was given to me by Williamsburg a couple of years ago and is one of the two varieties of this pigment they offer. Only two other brands – Rublev and Vasari – make paint from genuine Van Dyke brown. It has raw umber in it, but just enough to decrease the drying time to about a week without having much impact on how the paint looks or handles. The test strip took seven days to dry.

French Cassel earth is Williamsburg’s other Van Dyke brown. My tube is their old version from before they reformulated it to also have a small raw umber addition. Both of these Williamsburg paints have a large pigment grain and produce unique results that would be impossible to produce with modern imitations. Although they may look gritty in this photo, it’s not difficult to use them.

For comparison, M Graham’s paint here is a modern paint that has been given the name Van Dyke brown. Even if modern imitations are very similar in color they may be very different in handling, as you can see in how it has more uniformity and its covering power made it comparatively difficult to smudge thinly. In this case I think it’s due in part to the smaller particle size of the pigments used here. This paint was dry the first day that I checked the swatches, only about 24 hours after making them. That’s even though this is the only paint here that’s made with walnut oil, which normally takes a little longer to dry than linseed oil.

M Graham’s paint is itself an excellent paint, but there is a large difference between its handling and that of genuine Van Dyke brown. Whether this difference is an advantage or a disadvantage depends on the situation and the painting style.

Kremer’s Blue Pigment Assortment

I got a boxed assortment of pigments from Kremer recently and here’s a chart of all of them made into watercolor. As always I can’t guarantee color accuracy. Actually, this time I guarantee it’s not accurate, because ultramarine is hard to photograph. All of these I made just with a palette knife and my own formula of watercolor medium (gum arabic, light honey, glycerin, tiny amount of synthetic ox gall, extremely tiny amount of clove oil). It’s not meant to be a comparison of tinting strengths or how each paint behaves other than granulation. None of these swatches are just a single brush stroke, as I was trying to get the paint to granulate. The paper is 140 lb cold pressed Arches.

Blue 30th Chart
Click here for a large chart.

A1 – PB32 – Smalt, very fine
A2 – PB31 – Egyptian Blue – The first synthetic pigment, made in ancient Egypt
A3 – NA – HAN-Purple, fine – an ancient pigment used in China
A4 – PB30 – Blue Verditer – a synthetic azurite
A5 – PB29 – Lapis Lazuli, sky-blue – genuine lapis lazuli
A6 – PB1 – Indigo, genuine – smells bad when wet, but very nice blackish darks
A7 – NA – Colored glass, Lapis Blue
A8 – NA – Ploss Blue – a form of distilled verdigris
A9 – PB30 – Azurite MP, pale
A10 – NA – Sodalite

B1 – PG24 – Ultramarine Green – a rare pigment not made anymore
B2 – PB29 – Ultramarine Blue, very dark
B3 – PB29 – Ultramarine Blue, greenish extra – the most intense ultramarine blue
B4 – PB29 – Ultramarine Blue, greenish light
B5 – PB29 – Ultramarine Blue, light
B6 – PV15 – Ultramarine Violet, medium
B7 – PB27 – Prussian Blue LUX
B8 – PV16 – Manganese Violet
B9 – NA – Copper Blue
B10 – PB71 – Zirconium Cerulean Blue – similar to cerulean but more granulating and contains no cobalt

C1 – PB74 – Cobalt Blue Dark
C2 – PB28 – Cobalt Blue Dark, greenish
C3 – PB74 – Cobalt Blue, Sapporo
C4 – PB28 – Cobalt Blue Pale (matte) – looks very nice for skies near horizon
C5 – PB35 – Cobalt Blue Light
C6 – PB36 – Cobalt Blue, greenish
C7 – PB28 – Cobalt Blue Turquoise Light
C8 – PB36 – Cobalt Blue Turquoise Dark
C9 – PV14 – Cobalt Violet, dark – similar to manganese violet, but cleaner color and more granulation
C10 – PV49 – Cobalt Violet Brilliant, light

A few extra notes- Three of my favorites are the smalt (A1), ultramarine green (B1), and cobalt blue pale (C4). Though the set isn’t inexpensive, it’s a very good deal when you consider how much is in it. Dividing the price by the number of pigments, and considering that 27 of the 30 jars look like they have roughly enough pigment to make about a regular tube of watercolor paint, it’s comes out to a very low price per tube. Much less than you’d spend buying such pigments as tubed paint. Plus, most of these pigments would normally be expensive to buy a small amount of them all, so a lot is being saved by being able to try them all. Also, I think I typed the names of all of these as they appear on the bottles, but Kremer’s website gives some of them slightly different names.

Egyptian Blue
Comparison of Egyptian blue made with light pressure (left) and heavy pressure (right). Using more pressure ground the particles finer and it seems like it’s the smaller particles that shifted to a greener hue immediately, which gives a very interesting effect. Both versions are a little iridescent.
Ploss Blue
Ploss blue is not listed on Kremer’s site as compatible with watercolor. Here’s a comparison between a paint swatch I made today (left) and one from a few days ago (right). It apparently yellows very quickly in watercolor, though I’m not 100% sure what it’s reacting to. Maybe something in the medium I made, like the clove oil? The verdigris I made myself didn’t yellow like this in watercolor (using the same medium, minus the synthetic ox gall, and a different batch), but it did in oil paint. It is listed as compatible with tempera though, so when I eventually try that I’ll give this a test. The color before yellowing is an exceptionally intense greenish blue.

Verdigris Part 2: Oil Paint and Matching

Verdigris 5

After my first verdigris post I made some more pigment and now I finally got around to making some proper oil paint with that, seen on the left of the image above. This was made with poppyseed oil and it was very easy to mull, requiring almost no effort. The finished paint is a really nice turquoise that’s extremely transparent and has extremely low tinting strength. I used a 1:1 mix with zinc white to tint it and it was still very strongly affected even by zinc white, so glazing seems to be the best use for this pigment in oil.

As I mentioned before, almost no one at all presently sells verdigris as either a dry pigment or as a paint of any kind, even though for a couple thousand years it was among the most vivid greens available. A big reason for that is the mix I made on the right side of the image above. Verdigris is moderately toxic and well known to have problems with lightfastness, but the mix I made using only lightfast, non-toxic, and inexpensive paints is nearly a perfect match. I used a lot of terre verte (hoping it’d lend transparency and low tinting strength), french ultramarine, a very small touch of phthalo green to increase the chroma, and zinc white (again hoping for transparency).

The mix isn’t as transparent and has far higher tinting strength, even though I used so much terre verte. Plus, the mix was only intended to match verdigris. Exceeding its chroma with the same hue is very easy with modern pigments, and the high transparency could probably be matched by adding some painting medium to the mix.

In conclusion, my curiosity of what this historical pigment was like has been satisfied and I can now say that it really is an obsolete pigment. It was fun and interesting to make, but there is really nothing that it would offer today that isn’t done better by modern pigments.

Verdigris 4

Here’s a photo of the second batch of pigment that I made in the copper dish, again using white vinegar. I tried using a different kind of vinegar, I think rice, in a separate dish but it only had a minimal development of verdigris and didn’t look any different.

UPDATE

Verdigris 6

Left: Verdigris mixed with cadmium yellow pale (Winsor & Newton, about 15 year old tube)
Right: the same cadmium yellow mixed with blues and greens to approximately match the mixture on the left, as a control sample
Photographed after 48 hours.

As you can see, the verdigris appears to have darkened significantly. I believe it’s in reaction to the sulphur in the cadmium yellow. From what I’ve read verdigris can also darken just from sulphur in the air.

Verdigris 7

For some reason the original swatch of verdigris, on the left, has also changed color in comparison to the control swatch on the right. In this case it’s more of a hue shift than a darkening though. This swatch was made a little less than 4 days ago.

So my experiment with making verdigris probably didn’t make the purest or highest quality pigment possible, and there’s obviously things that I don’t know about chemistry, but what I’ve seen has reinforced my opinion that this historical pigment is obsolete when I consider that I have never seen paint change like this before.

Genuine Terracotta Oil Paint

Terracotta Oil Paint 5

Here’s some oil paint that I made from a shard of a broken terracotta pot. Some paint brands like to sell a paint called terracotta, but here I now have the real thing. Genuine broken pot paint. 🙂

I photographed all of this in the afternoon sun. The tints are with titanium white, but I didn’t try too hard to make it exactly even ratios this time. The other two paints in the photo are just there for comparison.

It actually does make sense to do this when you consider what natural red ochres and synthetic mars reds are made of. Basically, red ochre is primarily colored by iron oxides and, depending on the source, also contains large amounts of things like clay, quartz, gypsum, etc. Mars red is made through chemical reactions using ingredients like powdered iron and is baked at high temperatures. A mars red is very similar to a natural red earth but without the mineral impurities. To make a terracotta pot (or red bricks) that mars red is then mixed with things like clay. So, as I’m understanding it, a powdered terracotta pot really isn’t much different from a natural red ochre.

All I used was this one small shard of the pot. Before now I had actually been putting the pieces into the bottoms of other pots to improve the drainage. To grind it into powder I switched back to my old granite mortar and pestle. It actually broke down a lot easier than I expected, and I only ended up using a about a third of the powder.

To make it into paint I mulled the powder with a mix of linseed and poppyseed oils. Of all the drying oils used to make oil paint for artists, linseed oil has the highest percent of linolenic acid. It dries the fastest and makes the strongest paint film, but it also yellows the most over time. Poppyseed oil has little if any linolenic acid, but one of the highest percentages of linoleic acid. It’s one of the slowest to dry and doesn’t make as strong of a film, but has a lighter color to begin with and is supposed to not yellow nearly as much. That’s why some brands specifically use it for very light colors such as white, where even a small amount of yellowing would be noticeable. The mix of the two oils should produce a paint with a stronger film than just poppyseed and that doesn’t yellow as much as linseed with a drying time between the two. Some brands of paint do also mix oils for reasons like that. Mostly though I did the mix because I’m running low on linseed oil but I have plenty of poppyseed. 🙂

Verdigris Pigment: Making Green From Copper – part 1

Verdigris 2

The photo above is verdigris pigment, PG20, that I made in a copper dish. The scratches were made with a stone to reveal the color.

The name verdigris comes from the French name for “green of Greece,” which is made from copper corrosion. It’s poisonous and from what I’ve read has problems with permanence and other issues, such as damaging paper, but from ancient times until the 19th century it was the most intense green available. Today it’s very rare to see anyone selling it, so yesterday afternoon I started this experiment to make my own.

This was done with a sheet of copper that I cut into a small circle and then hammered into a bowl shape. After that I poured into it a small amount of white vinegar for its acetic acid content. Apparently different vinegars will produce different greens, but this is the only one I’ve tried so far. I had read that a little salt is suppose to help, though I don’t know the specifics, so I also sprinkled in a little sea salt. Then I just left the dish in the sun. As it evaporated I could see a rim of dark green forming around the edge of the vinegar. I forgot to check it this morning, but when I looked in the afternoon everything had evaporated. There was still a bit of a vinegar smell though, and I don’t know if I should have waited longer before collecting the pigment.

Verdigris 3

Looking closely, the bottom of the dish had many green crystals on it. They were easy to scrap off and crush with a palette knife. I also poured in some more vinegar to see if more would form tomorrow, but in the course of making this post it already evaporated and it looks like there is more green in the dish already. Again though, I don’t know if I should let it sit longer.

Verdigris 1

I made a small amount of watercolor with that pigment, just using a palette knife, and then mixed it with lemon ochre in steps to see what it’d look like. The photo shows the paint a little lighter than it really is, but the hue and intensity are pretty close. Looking at the paint from different angles shows a lot of metallic glitter. Maybe that’s copper that didn’t fully corrode?

For the next part of this experiment I’ll get enough pigment to make some oil paint with it. Then I’ll try a different method in which the copper is placed in a jar with some vinegar in the bottom and left in the sun for a month as the vapor from it fills the jar and forms verdigris crystals on the copper. 🙂

Lapis Lazuli and Red Jasper Watercolors

Lately I’ve been experimenting with grinding various stones into powder and then making watercolor from that. Some of the stones I found myself but here’s two that I bought.

Lapis Lazuli Pigment

I’ve had this tiny piece of lapis lazuli for many years. The actual process of extracting lazurite from this is more than just hitting it with a hammer. From what I’ve read it involves oils and clay that’s used to remove impurities like pyrite and clear minerals, but I don’t have all the needed materials and my piece is so small that there wouldn’t be enough pure pigment for me to make paint. Therefor the impurities are going to stay, even if only to add some bulk. Grinding this was surprisingly easy.

Lapis Lazuli Watercolor

The paint I made from it was a gentle smokey blue that’s very granulating. You can’t see it in the photo but there’s little glints of sparkle from the pyrite. If it looks a little greenish it might be because the water I was using had already been used for other paints and needed to be changed. Maybe the impurities are a factor too.

Lapis Lazuli Pan

That little stone ended up being just enough for a full pan of watercolor. Some of the paint swatches it’s sitting on are from store bought tubes and some I made myself from dry pigment I bought, but there’s a few in the top right corner that were made from stones I found. These swatches are all from me trying to figure out which colors I want to include in my new travel case.

Red Jasper Pigment

This is red jasper that I mail ordered. It was completely different to grind because it was so much harder. The card that came with it said it was a hardness of 6.7. I don’t know the hardness of any of the other stones I’ve found but none were as hard to grind at this one.

The pigment was a little duller than the stone itself. A lot of pigments become lighter and duller as they’re ground more finely. The lapis lazuli was the same way.

Red Jasper Watercolor

Here’s the finished red jasper paint. It’s not as red as I was originally hoping, more of a brown, and still a little gritty. It has a nice granulation though and a good amount of darkness and opacity to the paint at full strength. Maybe someday I’ll order some yellow jasper.

There’s a lot of other stones that I’ve tried turning into paint and I still have more to experiment with, but I thought these were two of the more successful ones.

Anthracite Coal Watercolor

Anthracite Watercolor Swatches

When I was looking for interesting rocks at a local rock shop to grind into pigment I found a piece of anthracite. I knew various forms of coal or related materials could be made into paint, so I thought I’d try it. I don’t know what the lightfastness of this is, but it’s probably not very good. Even so, I really like this slightly brownish black watercolor paint.

The wet on wet swatch is my favorite because it was so inert in the water that it easily retained interesting visual textures. In the light wash you can see that there’s a few very tiny loose particles in the paint. I just wiped one of them off the paper, so maybe I needed to mull the paint longer. The pigment had a little resistance to mixing with the wet ingredients, but not nearly as much as when I tried making viridian watercolor a few weeks ago.

Making Anthracite 1

Here’s the tools I used for making the pigment. The mortar and pestle are stainless steel and I only use it for grinding pigment. This is the second time I’ve used it like this. The first time I was doing this exact process but with some pieces of tiger’s eye a few weeks ago.

The goggles are obviously to protect my eyes, since little pieces of anthracite kept flying everywhere. The steel block that the anthracite is on is meant for making jewelry. I ordered it from Amazon specifically for doing this kind of thing. The hammer is 3 lb because with more weight I can move the hammer more slowly, giving me more control, and still have the same impact force.

Making Anthracite 2

The anthracite has a lot of interesting textures in it. In some places the pattern of the cracks almost looks like wood, and in other places it’s very glossy and looks like obsidian.

Making Anthracite 3

I found that tapping very lightly with the hammer was best, even though it seemed slow, because otherwise the little pieces would fly everywhere. Holding the hammer just below its head gave me more control. I found that holding my hand on one side of the block and tapping with the hammer angled toward that side helped a lot to prevent pieces from flying off the block. It’s not necessary to break it down into a fine powder at this point, a coarse powder is all that’s needed.

Making Anthracite 4

Here’s the finished pigment, ground much finer with the mortar and pestle. It turned out to not be as fine as I thought. When I actually put this under the muller to make paint it still felt pretty coarse, but it smoothed out a bit as I mulled it.

I still have most of the anthracite left, which I may grind up later and use to make oil paint.

Self Made Watercolor in Tubes

12 Tubes

I’ve been pretty busy the last several days making and tubing a set of watercolors for myself. I had gotten 12 tubes from Daniel Smith recently and I wanted to make one paint for each of them.

12 Tubes Swatches Tall

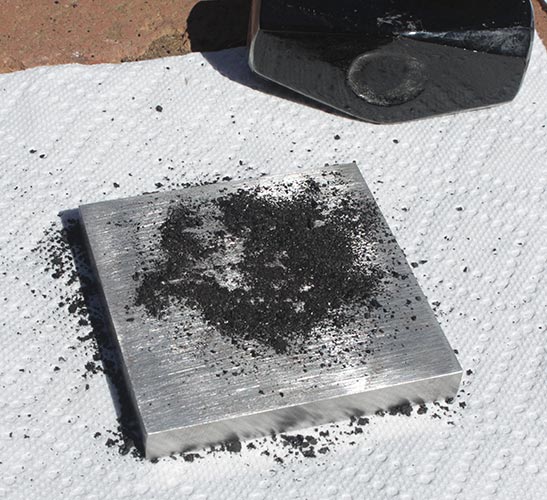
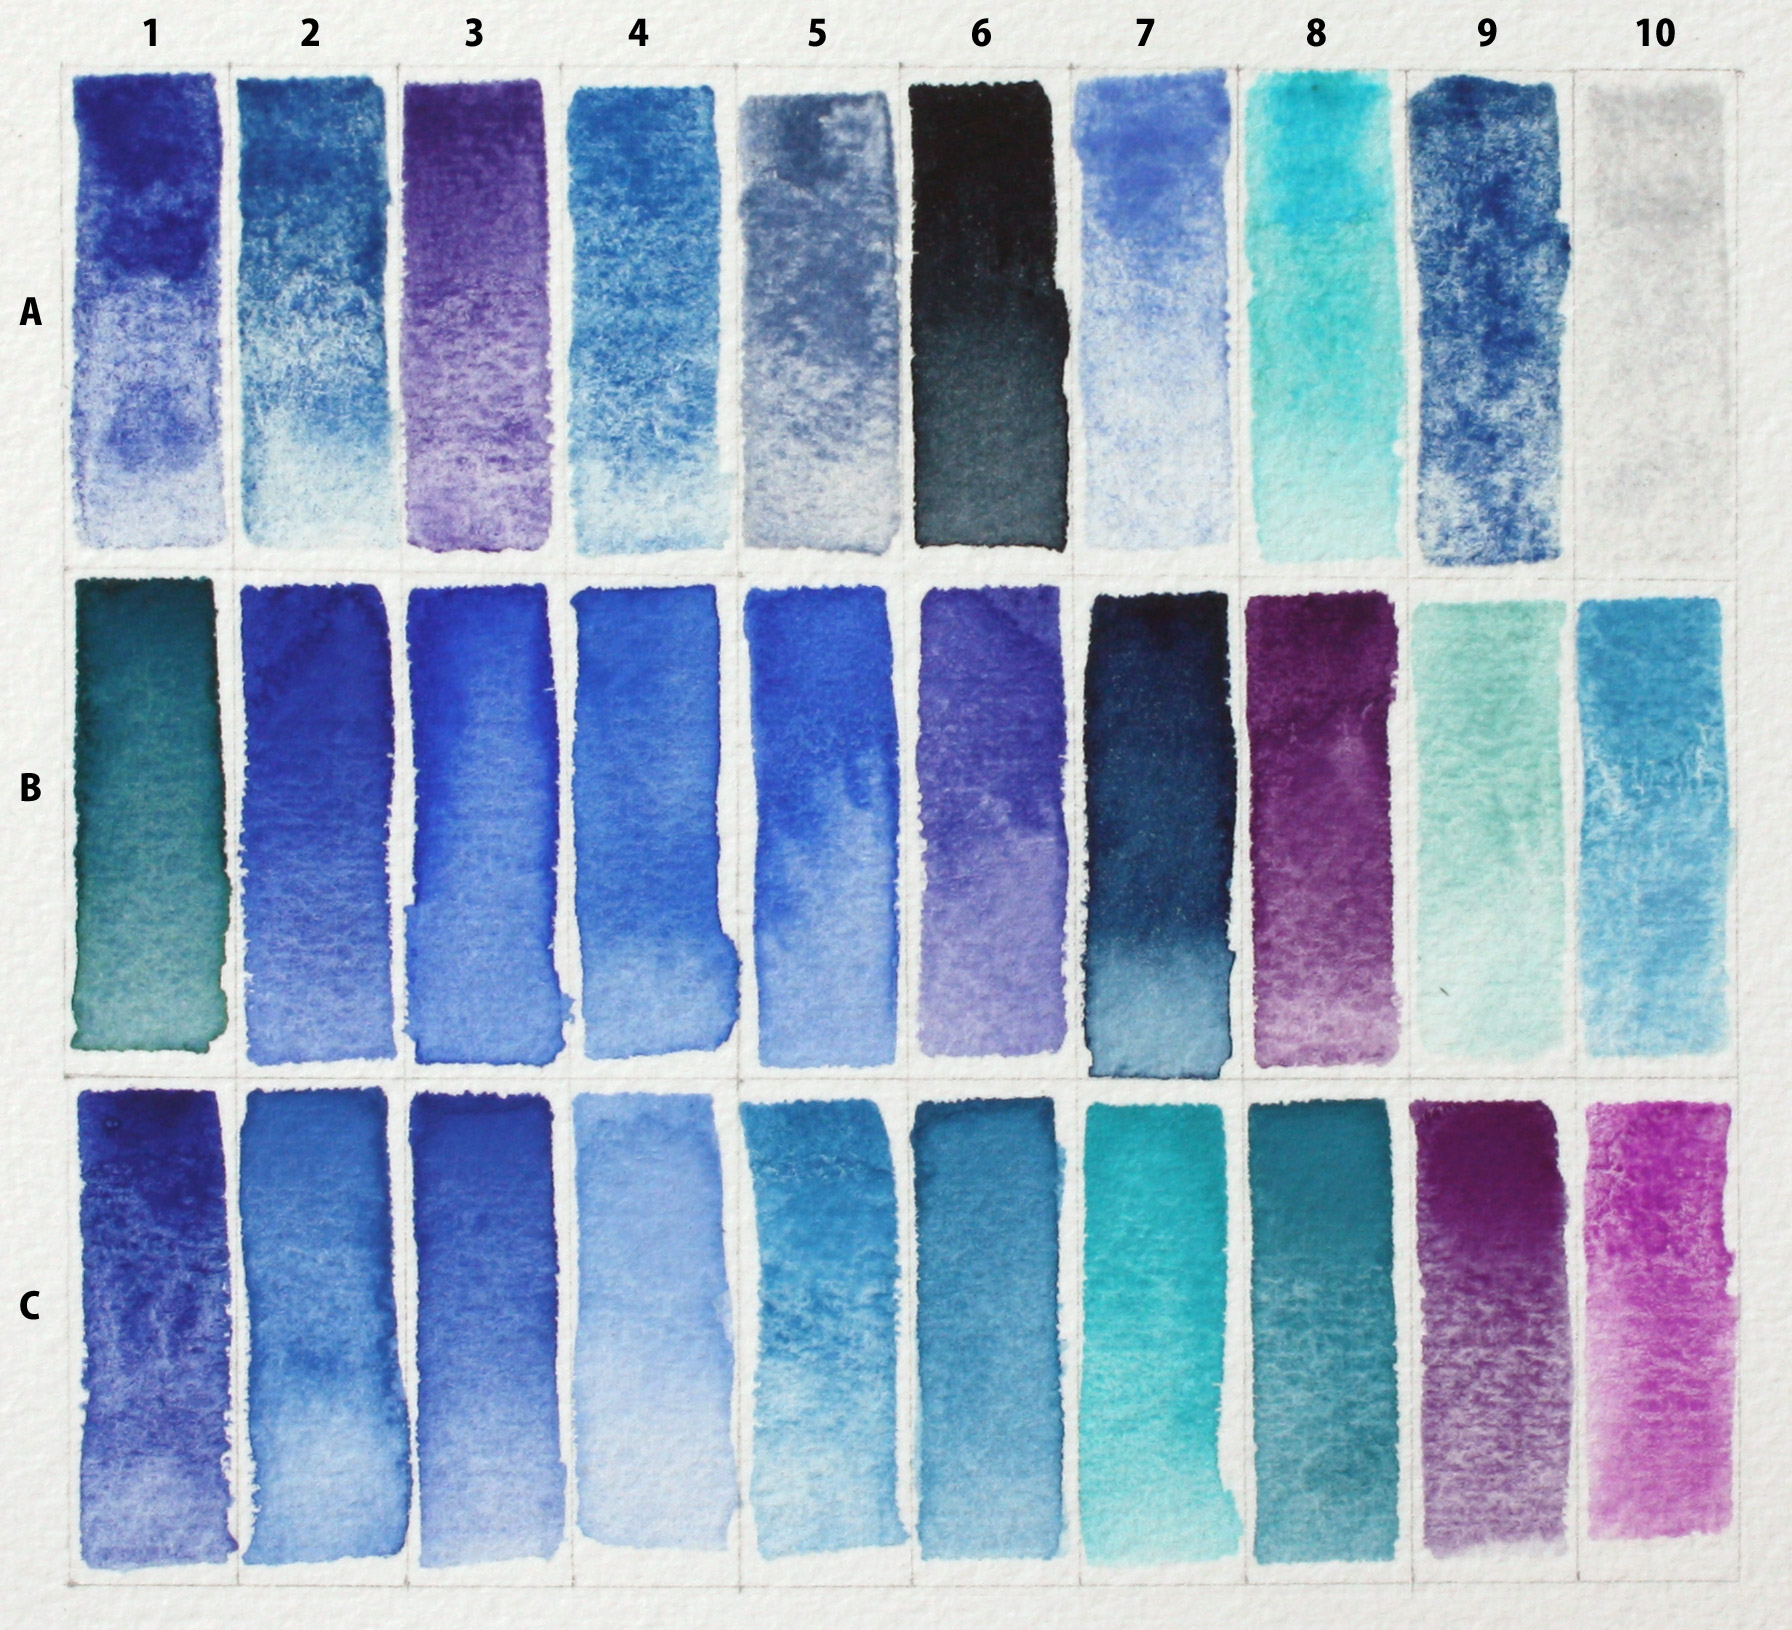
I can’t guarantee perfect color accuracy from my scanner, but here’s the swatches for each paint I made. I really like the way Pozzuoli Red and Nicosia Green Earth look next to each other. The Shungite Black Ochre was different from the rest. When I was mixing it with the gum arabic I noticed patches of a slightly oily sheen on top of the liquid. I know that a pigment like lamp black is naturally oily, so maybe this one is too? I really like the paint it made though and I’m planning on making a painting with just this and maybe some of the titanium white.

Here are some things I would recommend for making your own watercolor paints-

• A basic recipe includes gum arabic, honey, and glycerin. It may take some experimenting to find a good balance of ingredients and to know how much pigment to use. Different pigments seem to require more liquid to avoid being thick and pasty, while others may become very thin and watery with the same amount of liquid added. I’m still experimenting to find a good balance, but most of these paints here I made with about 1 part gum arabic to 2 parts pigment, by volume, and a few drops of honey and glycerin.

• Start with a few inexpensive pigments, such as burnt sienna, so you can practice without worrying about the cost if the paint doesn’t work out well on the first few tries.

• Making your own gum arabic from a powder and some warm water costs less and is very easy to do. I mixed 1 part powder to 2 parts water by volume and got good results. Just let it sit in a jar for a while until it’s fully disolved.

• There are alternatives to gum arabic, such as dextrin, that may be cheaper and produce different results. I haven’t used it yet, but dextrin is supposed to make a thicker watercolor paint than gum arabic. I’ve also tried using peach tree sap and have gotten good results with that too. One of the best parts of making your own paint is that you can produce results that handle differently from what standard commercially made paint offers, so feel free to try different things.

• Mulling/grinding pigment with a glass muller on a glass plate is important for fully coating each pigment particle in vehicle, which in this case is the gum arabic/honey/glycerin mixture, as well as breaking down large conglomerates of pigment particles. Some pigments require more mulling than others.

• Until you gain more experience and confidence, avoid using toxic pigments. Most of the paints I made here are non-toxic, but even they would be bad to breathe in the fine dust of the dry pigment. Toxic pigments can pose a serious health risk in their dry form before being made into paint if they are breathed in. Wearing a dust mask would be a good idea when handling dry pigments.

Some advice for buying pigments-

• Buying a larger amount of a pigment at once will mean a better price per gram, but it’s probably not necessary to purchase a huge amount of a pigment unless you know you’ll be using a lot of it. The two large jars in the first photo above contain one pound (453g) each of ultramarine (left) and mars yellow (right) from Blue Ridge that came in bags. I got them for an extremely good price, $14 for blue and $8 for yellow, but that might be more of those pigments than I’ll ever use in my life. Next time I think I’ll get half pound bags.

• Buying about 100g (weight) or about 4oz (volume) of pigment at once is a very good and common amount. It’s enough to make several tubes of paint with, so it’s cost effective when you consider the jar/bag of pigment probably cost the same or less than buying just one tube of pre-made paint, and it’s usually inexpensive enough in that size to buy several different colors to have more variety.

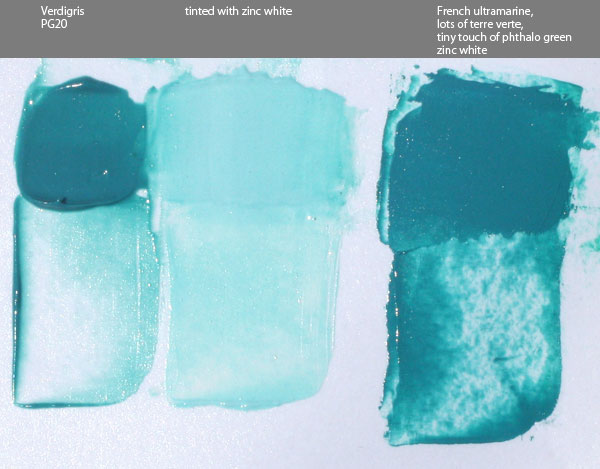
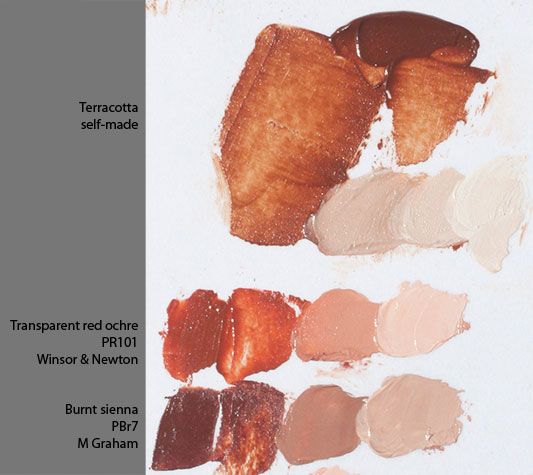
• Try finding unique pigments that aren’t made into watercolor paint by any brand. That way you can add these new paints to the watercolors you already use. For example, there are many varieties of natural yellow and red ochres, green earths, and both raw and burnt siennas and umbers but many brands of paint will only make one or two of each. There are also pigments used in oil paint that are also suitable for watercolor but that no one uses.

• There are many companies that sell dry pigments. You may find that one company sells pigment “A” for a high price and pigment “B” for a low price, but another company may be just the opposite. Some companies have high prices on all of their pigments. It’s a good idea to shop around and know what’s available. I found that Blue Ridge has some of the best prices on pigments, but the selection is a bit limited. They are available in 0.5 or 1 pound bags. Natural Pigments offers one of the largest selections of natural ochres, siennas, umbers, and green earths available in may different sizes, as well as other rare and specialty pigments. Daniel Smith has a limited selection of pigments available but only in 2oz jars or 1 pound bags. Some other companies that I haven’t ordered from yet include Kremer Pigments, Kama Pigments, Earth Pigments, and many other brands of paint that also sell the same pigments they use to make their own paint with.

• Remember that the point is to buy a pigment, not romance. Many paint makers sell their own pigments that they use to make their paint but at ridiculously high prices. They may be hoping that their brand name and reputation for making high quality paint will convince you spend $100 on a small jar of pigment that can be gotten elsewhere for $20. When looking at these pigments, ask yourself this- “After I make this into paint, will the final cost of materials for that paint be less than just buying a tube of the same paint from someone?” If the answer is no, then the pigment you’re looking at is priced too high. You should be able to make at least two or three tubes of paint from a small jar of pigment that’s the same price as buying it pre-made from a brand of paint.

• Of course, there are some rare pigments, such as lapis lazuli, that will cost a lot no matter who you buy them from and are not necessarily overpriced. It would be better to practice with cheaper pigments before investing in one of these.

Pill Box Watercolors

This is a weekly pill box that only cost something like $1.50 I think. I wanted to fill each of the seven spaces with paint I made so I could take it traveling, but by the time I got the first two done I was getting tired of making paint and cleaning up after each color. Also I was almost out of paper towels from all that cleaning. The other five colors I just squirted into it from tubes that I bought.

Canyon Pigment: Self-Made

A long while back I had picked up some crumbly clay-like rocks with interesting colors while passing through a nearby canyon. Since I’ve been practicing making watercolor paint from various pigments I thought I’d try making my own pigment from scratch using one of these rocks.

Canyon Sienna 1

It was very easy to break it into smaller pieces, but little bits kept flying off even though I was trying to be gentle with the hammer. I wore safety goggles for this. A larger mallet might have been useful.

Canyon Sienna 2

I worked at it with light taps from the hammer until it seemed to be a fine powder… except that it wasn’t. Scraping the powder onto notecards showed many chunks that were far from being powder.

Canyon Sienna 3

So I put it in a granite mortar and pestle that’s been around for as long as I can remember as part of the “decor.” Grinding the pigment in a stirring motion was pretty easy and all the bits broke down into powder. This will be my pigment grinder thing from now on. It was at this point that my neighbor’s cat decided to climb up onto my leg, and from there to my shoulders, while I knelt. I walked around for a minute with a parrot cat perched on my shoulder. ^_^

Canyon Sienna 4

It might have been a good thing to wash the pigment to get rid of impurities, but I’ve never washed pigment before so I’ll have to experiment with that some other time. The muller and grinding plate I’m holding up here was gotten from Natural Pigments.

Canyon Sienna 5

Before mulling, the pigment should be mixed with its binder using a palette knife. I’m using a mix of gum arabic, vegetable glycerin, and local honey. I haven’t done this enough times to have a good grasp on how much of each of these to use, but I think I’m getting better the more times I do this.

Canyon Sienna 6

The mulling process involves moving the muller in a stirring motion over the paint and takes a bit of time and effort. I kept adding more gum arabic, glycerin, and honey as I worked because it felt too stiff. At the start there was still a lot of grit in the pigment but over time it smoothed out.

Canyon Sienna 7

Here’s the finished paint. A plastic putty knife from the hardware store makes a good scrapper for getting the paint off the muller and gathering it back into a pile at the center of the plate. I did that several times while mulling.

Canyon Sienna Final 2
Click for a larger view

Here’s the paint in different applications on paper, Fabriano Artistico, 300 lb soft press. The photo was taken in full sunlight and then adjusted slightly for brightness and to reduce the over saturation in the photo. This is where I was thinking I might have needed to wash the pigment because there were a few very tiny dark particles that didn’t stick to the paper and brushed off after the paint was dry. It granulated nicely in wet on wet and was surprisingly dark when used full strength.

Overall it was a huge success. Maybe for now I’ll call it Canyon Earth? I didn’t use all of the pigment that I made and I still have other rocks with variations of color to try in the future.